
Wine is one of the most beautiful, most appreciated, and healthiest drinks in the world. Mankind has been enjoying wine for more than 5 thousand years. Choosing the right wine with the right food is like an art, and the most respected professionals in that field are paid a lot. We believe that you are also a wine lover because you found this article. And every true wine lover has thought at least once in his life that it would be good for him to make his own.
Especially if you live in areas that are suitable for growing vines, which are mostly warm areas with lots of suns, such as Italy, Spain, Argentina, California, Australia, and many other places where the most prized ones in the world come from. If you have decided to make your own and don’t know how don’t worry. Read our guide on how to make and bottle your own wine in 9 easy steps and you will be ready.
1. Check the laws
The first step on this path is to check the laws of the place where you live because you make alcoholic beverages. As for the USA, it is legal to make a maximum of 200 gallons per household. Of course, you must be of legal age and it must not be intended for sale unless you obtain special permits. The maximum percentage of alcohol that is allowed is 18 percent. If it contains a higher percentage of alcohol than that you can be charged with producing moonshine.
2. Collect or buy fruits
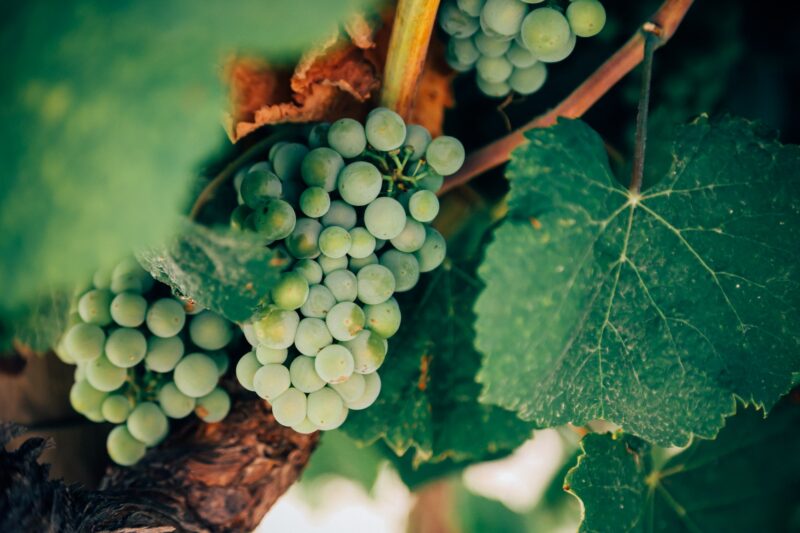
The first thing you need to do is decide which fruits to use, and of course, grapes are the best choice. Choose fruit that is fully ripe, because then it is the best and you need to find one that is as high quality as possible. It is best if you have grown it, so you know that no chemicals have been used because if they have, it can ruin the wine. If you do not have your own grapes, then the farmer’s market is the right place to buy it or at some of the specialized places for selling grapes for this purpose. Anyway, this step is very important and will have a huge influence on the final product.
3. Equipment

You do not need a lot of equipment, but you must have a few necessary things to complete the whole process successfully. You need a plastic or glass container where the whole process will take place. If you choose plastic, make sure the recycling number is 1 or 2. If you are using a glass container, then it is essential that it is not damaged or scratched. Whatever you decide, you won’t have to spend a lot of money, so our advice is to buy a new one, instead of a used one, because maybe someone before you kept sauerkraut in it and then it would ruin your wine.
Then you need an airlock, a thin tube and finally a glass bottle and corks where you will store wine. You can buy new bottles, or you can use some that you already have. It is only important that you clean them very well so that they do not get vinegar instead of wine. If you want remove the stickers from the bottle and you can make your own. Although you are not allowed to sell, it will look nice. Since removing stickers can be a difficult task, visit CustomSticker.com and find answers on how to remove sticker residue.
4. Prepare the fruit
The first thing you need to do is wash the fruit thoroughly and clean it of all dirt, as well as the leaves. Then if you want mild wine, peel the grapes or whatever fruit you chose. If you want a stronger flavor, then skip the peeling. There is also an approach not to wash the grapes at all, to keep their natural yeast, and not to have to add yeast later. However, with such an approach you will have less control over the whole process because you will not know exactly how much yeast there is. So it’s up to you to choose what you want, and you can try to do it both ways.
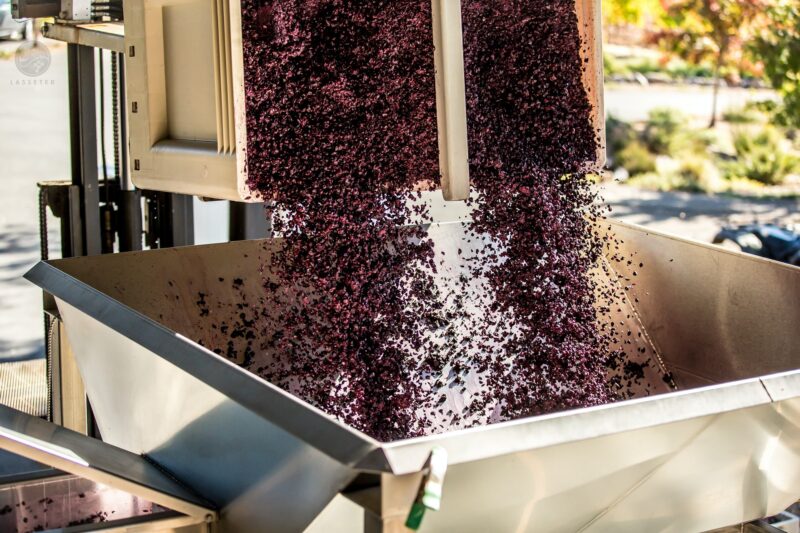
5. Crush it
You can crush whatever you want. You may have seen girls trampling on grapes, but you can use your hands or a masher. Fill almost the entire container and then add a tablet or boiling water that will kill all bacteria and yeast. Of course, you will not do this if you have opted for the approach of not washing the grapes to keep the natural yeast. You must not use tap water because it has chemicals in it.
6. Add the necessary ingredients
Now it’s time to add the necessary ingredients. First, add honey or sugar to start the yeast growth. Then add the yeast if you have washed the fruit. Finally, you need to add a few chemicals, including potassium metabisulfite, to keep the whole process running smoothly.
7. Store it and allow to ferment
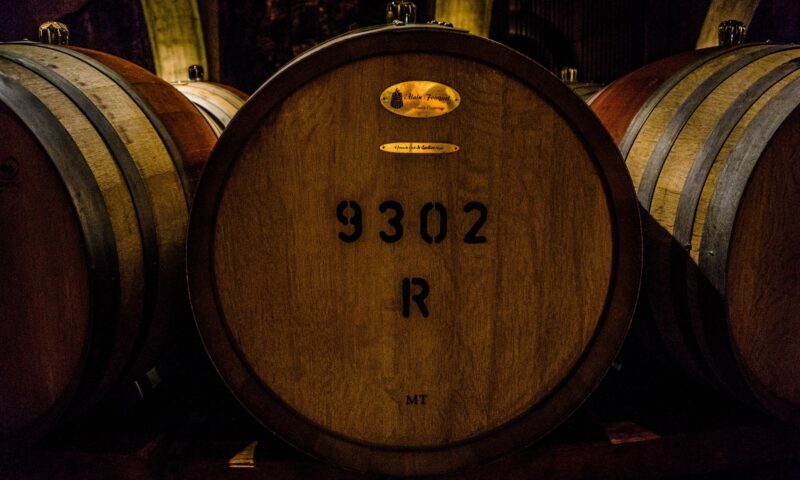
Leave it for a few days at a temperature of just over 20 degrees Celsius. Of course, protect the container so that insects cannot get inside and ruin your entire effort. Check the airlock and it is important that no one opens the container for the first 48 hours. After three days open the airlock to allow for the release of gas, but it will also keep oxygen inside, which is very important. Then leave it for at least a month.
8. Final adjustments
When you have an almost finished product, you can adjust the taste to what you want. If you added something for flavor, then leave it sealed for a few more days minimum.
9. Bottle it
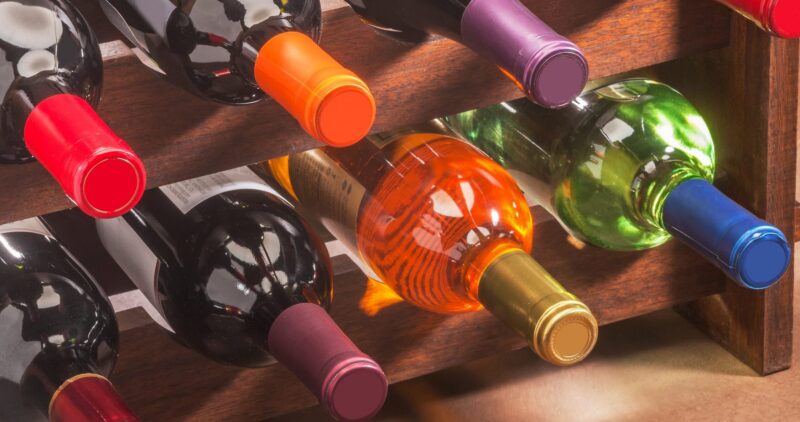
When the wine is ready for consumption, pour it into bottles that you have already disinfected and closed with a cork.
Conclusion:
Congratulations! You made your own wine. Now invite friends and family to a tasting and let them admire your skill.


